A few years back I wrote a guide that showed how do we enable NVIDIA ShadowPlay on unsupported NVIDIA GPUs. But that was before version 3.0 of GeForce Experience (The utility suite ShadowPlay is a part of) was launched. Sure, the newer version came with an updated UI and new features for game streaming, but with the newer version, the older method did not work to explicitly use ShadowPlay. This guide bypasses the restriction introduced in version 3.0 and later. If you want more info about ShadowPlay, check out this post. So here we decipher the trick on how to enable NVIDIA Shadowplay on unsupported systems with the latest GeForce Experience (hereafter referred to as GFE) and drivers in 2020. Let us get started to Enable NVIDIA ShadowPlay on unsupported systems
Before beginning, a quick requirement check.
Make sure you have these prerequisites fulfilled before proceeding to try enabling ShadowPlay forcefully.
- Your GPU should be at least based on a Kepler graphics core or newer. 600 series or above mostly supported but use the list to cross-check which architecture your GPU is based on. (And it should be from NVIDIA lol). This is because earlier GPUs didn’t have dedicated circuitry to encode the video stream.
- The GeForce Experience version should be 3.0 or higher.
- Update the NVIDIA drivers. (Though older drivers are supported yet the latest version is the least I would recommend).
- After going through the requirements, follow these quick steps:
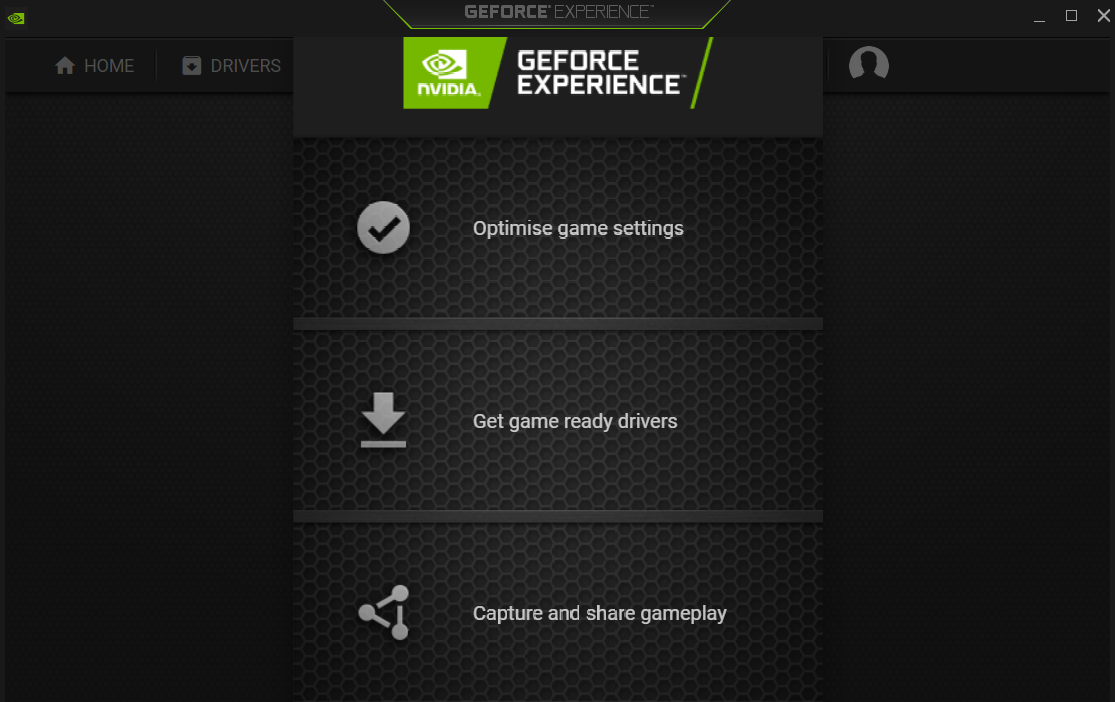
- Install GeForce Experience from here. This is compulsory to use ShadowPlay.
- Download and install GFE. Keep a note of the install directory, this would be used later.
Get Enrolling
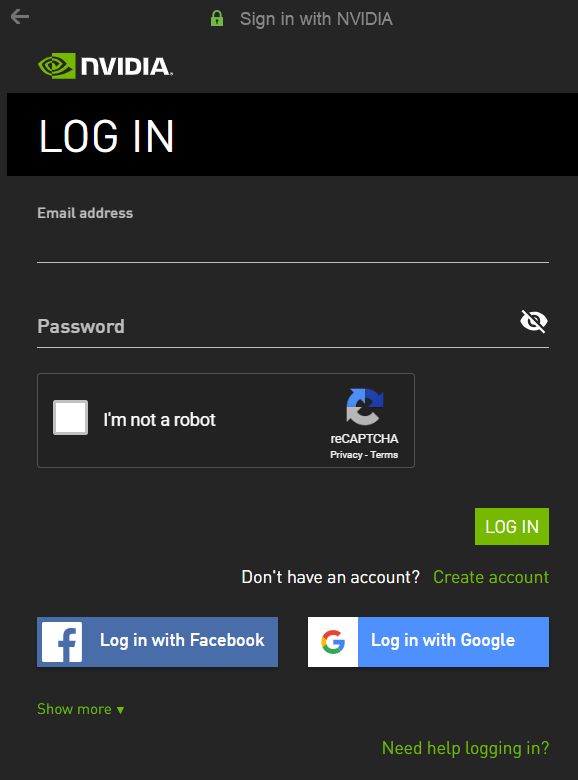
- Create an account on GFE and log in.
- You need to have an active internet connection to create or login to a GeForce account. This is one time.
Just a Detour
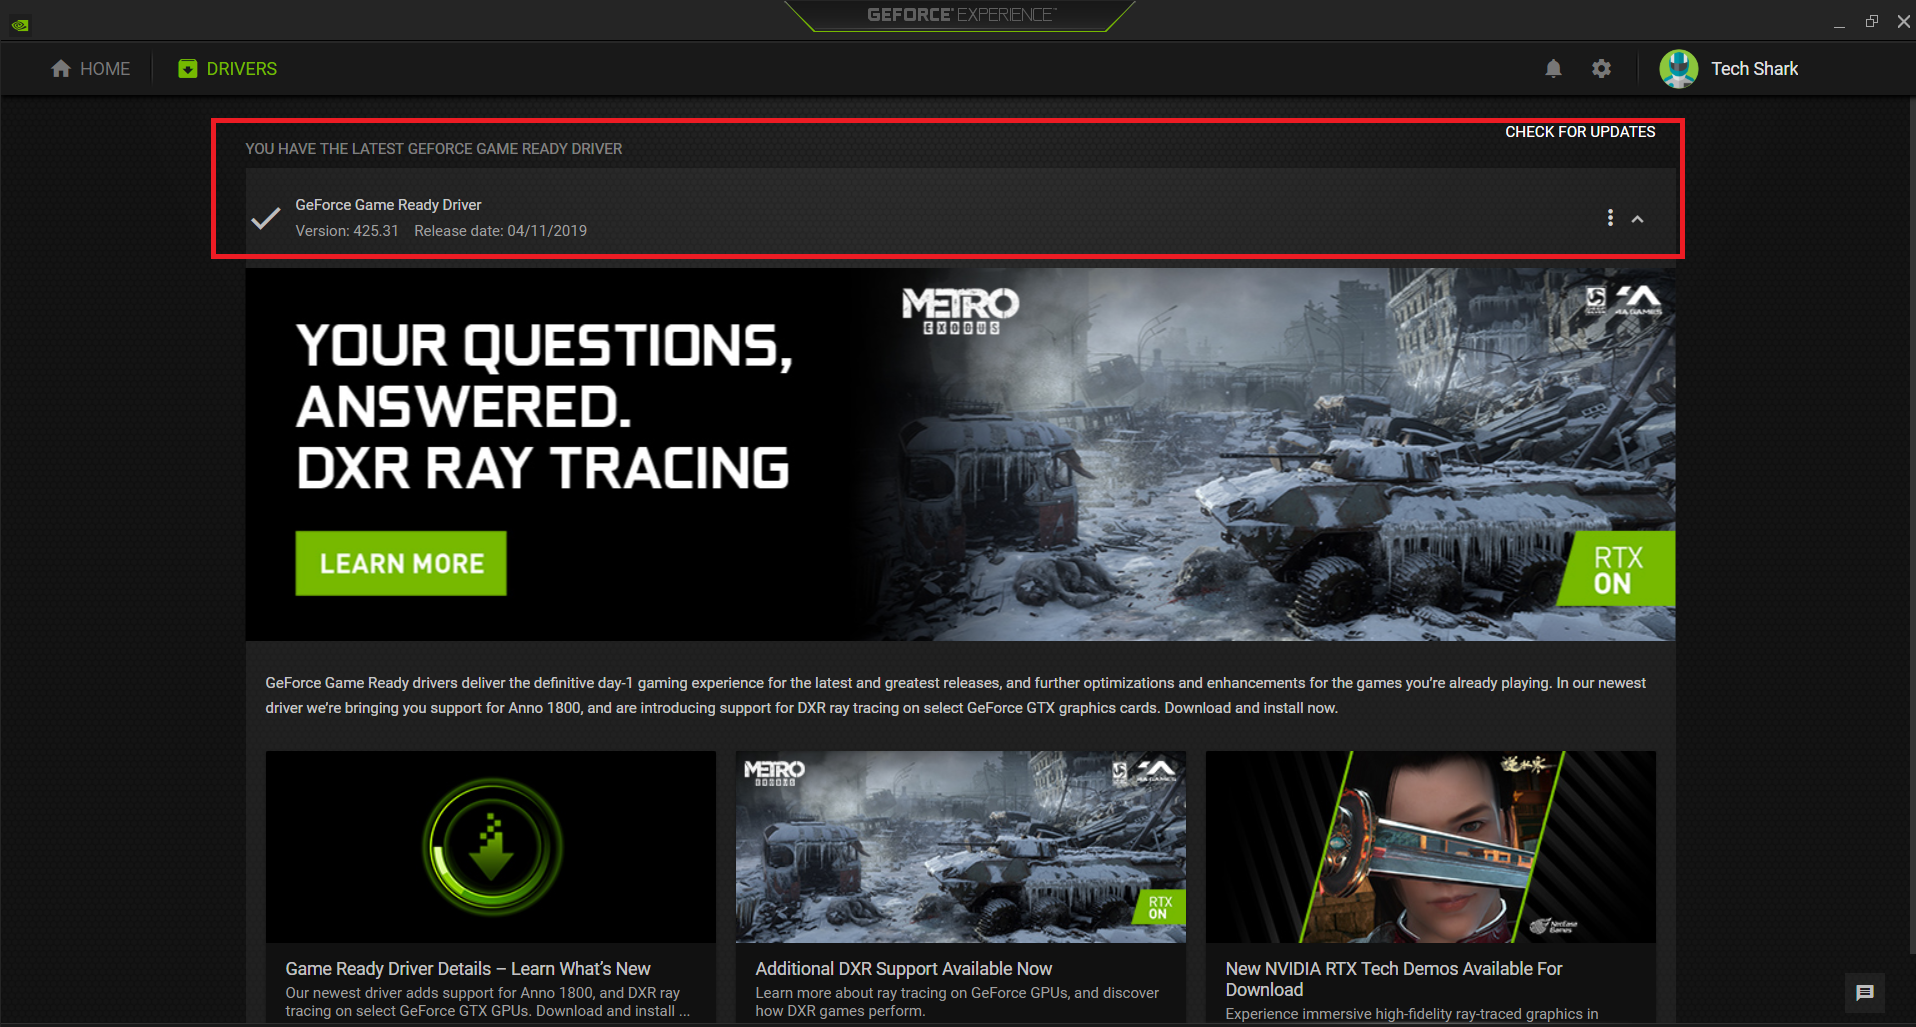
- Update the drivers from GFE itself (recommended but not compulsory).
- As mentioned in the prerequisites, if you haven’t updated the drivers earlier, update them now using GFE‘s inbuilt driver update utility.
NOTE: This might be already a piece of information for you, but many people who haven’t updated Video Drivers on their own might panic when they see the screen flicker or blackout while the installation of a new driver is taking place. This is completely normal, relax, it’s the way it’s meant to be.
- Open the location where GFE is installed
- Lookup for this specific file called ‘NVIDIA Share’. Create its shortcut to the desktop.
- Like mentioned earlier, keeping a note of the install location would come handy now. Open the directory where GFE was installed and search this file called “NVIDIA Share” in this folder itself. Right-click on it, and send it to desktop to create its shortcut.

Safety Check
- Close the Nvidia GFE from the task manager. preferably disconnect from the internet to avoid cloud sync.
- You need to close the GFE processes that are already running. Letting them run in the background would interfere with the process we would launch later on. If you can, then disable the internet connection for launch. This needs to be done only launching for the first time.

The Real Deal
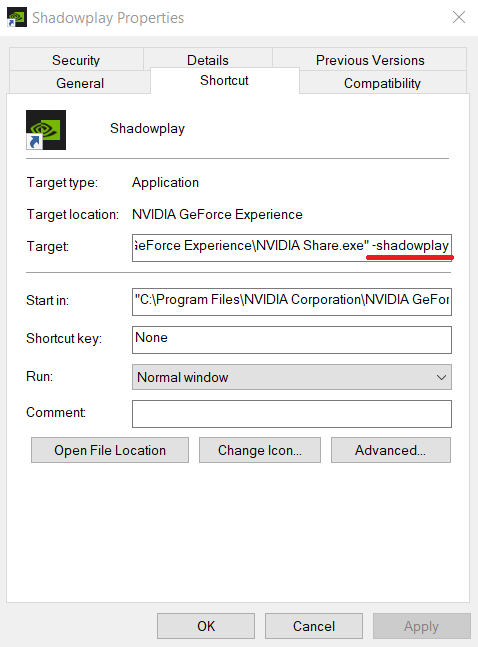
- Moving to the newly created shortcut, open properties, and edit the target location.
- This is the important step to enable ShadowPlay to run on your system, make sure the shortcut is exactly modified as mentioned in the picture and take note of the space before the hyphen.
Apply and Save
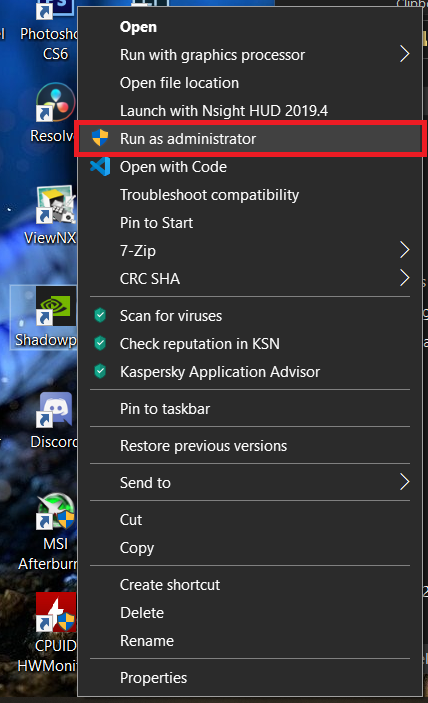
- Run as Admin and double-check from task manager that share is running.
- Save the changes to the shortcut and right-click on it to run it as administrator. Admin privileges are a must for this to work as this requires a system-level of clearance from OS.
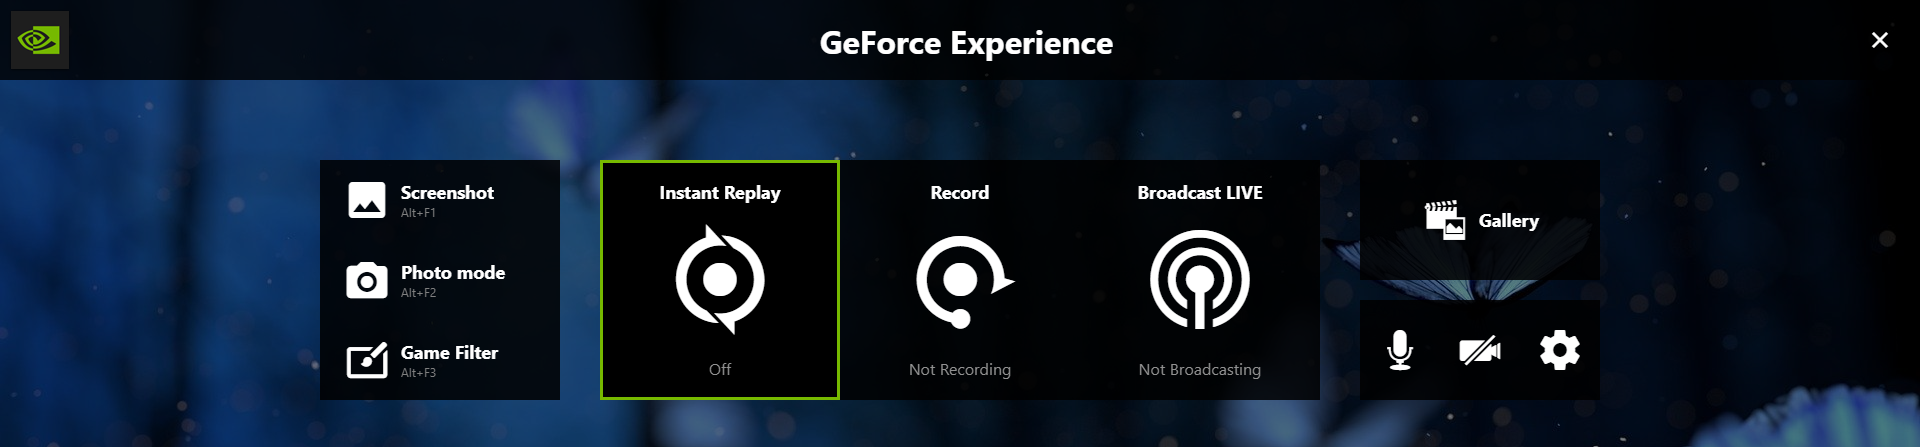
Spam Alt+Z and Voila!
- Here, my fellow gamers where the painful misery of FPS drops while recording ends and streaming begins.
- After seeing the ShadowPlay overlay, you can now go through the menus to select your preferred quality and frame rate (to save size), target location, audio options, HUD position, FPS counter and position, Broadcasting options, etc. And there you have it! Enjoy your new in-built game recorder/ streamer app without an FPS hiccup. Record/Stream/Capture/Screenshot your way to perfection. Cheers and happy gaming.
PS: If it does not work, some known issues like the ShadowPlay indicator are displayed in-game but the recording does not start. Then simply uninstall Shadowplay and re-install it. That would fix it. Having more queries? Leave a comment, we are here to help. 🙂
If you like our content, a follow-on Instagram would be appreciated. Thanks!